Aria Automation can integrate with Ansible to execute post-deployment commands on the VMs.
This will be a three-part blog series. Part 1 will focus on deploying an Ansible appliance host, Part 2 will focus on preparing the Ansible appliance by installing Ansible Tower on top of it, and in Part 3, we will focus on integrating Ansible with Aria Automation and also test it by creating a deployment that will use Ansible to configure the VM deployed.
Did you Know?
Ansible Tower(AWX or Automation Controller) adds a web interface with RBAC, REST API, and additional features to an existing Ansible installation.
AWX is an open-source upstream project, the code of which eventually makes it to Ansible Tower.
Ansible Tower is the enterprise version of AWX. It is no longer called Ansible Tower but Automation Controller and is part of the Ansible Automation Platform.
Ansible Automation Platform is an enterprise suite offering from RedHat that includes an Automation controller and other tools.
Deploying Ansible TurnKey Appliance
The Turnkey Ansible is a Debian Linux VM with Ansible installed. You could download an OVA from VMware Market Place - https://marketplace.cloud.vmware.com/services/details/turnkey-ansible-appliance-15-0?slug=true or the ISO image can be downloaded from - https://www.turnkeylinux.org/ansible
The OVF deployment is straightforward, and no appliance customization is needed during the wizard.
Once deployed, I recommend increasing the number of vCPUs to 2 and memory to 4GB.
Power on the appliance and open a console for the VM.
During the system's first boot, you will be prompted to set a root password. Enter a password and click OK.
You will also prompted to set a password for the ansible account.
You can skip initializing Hub Services if prompted.
You can choose to Skip supplying an email address for system notifications too.
If prompted to install Security Updates, you can either do so or skip it if the appliance is being deployed onto an internal network. Since I am deploying this to an internal lab network, I will skip it for now.
If there is DHCP on the internal network if should already pickup an IP address.
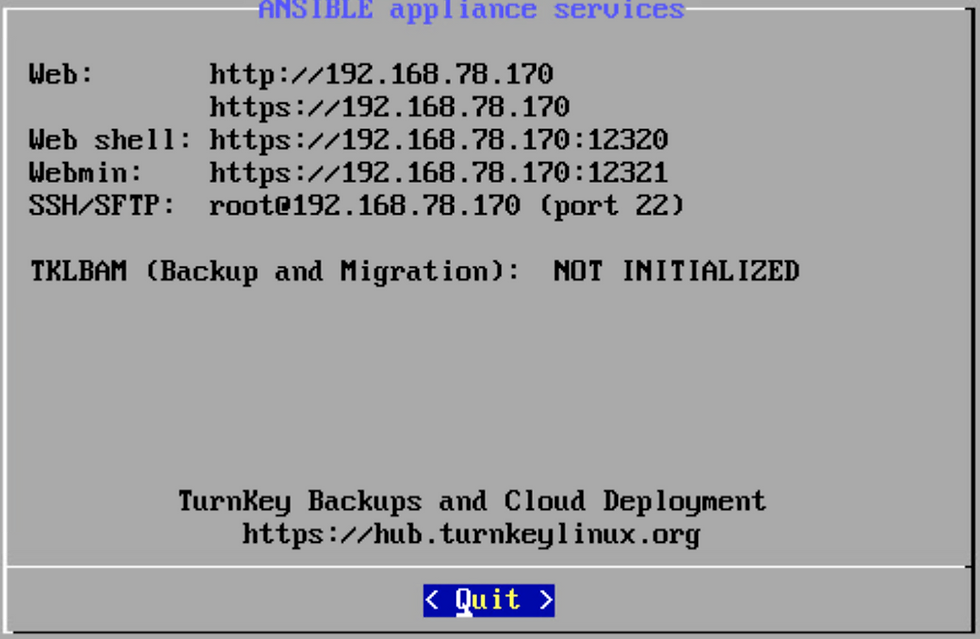
Since my lab has DHCP serving the internal network, it has picked up a DHCP address. But for the purposes of this blog, I am going to assume that you don’t have DHCP and that a static IP needs to be configured. So, hit ENTER to quit the dialog, and you will be prompted to log in.
Enter the root credential to log in, and you will be presented again with the appliance service dialog, this time with an Advanced Menu option.
Hit ENTER to bring up the Advanced Menu dialog, select Networking, and hit ENTER.
On the eth0 configuration dialog, select StaticIP and hit ENTER.
On the Network Settings dialog, enter a Static IP configuration, select Apply, and hit ENTER.
This should take you back to the "etho configuration" dialog. Verify that the new IP configuration is correct, then go Back. Hit ENTER to go back again on the Advanced Menu dialog until you get to the ANSIBLE appliance services dialog. Verify if the access URLs reflect the static IP configurated.
At this stage, you should be able to access the WebConsole using the above Web URLs.
The next step is to install Ansible Tower or AWX on the Ansible VM. This will be covered in Part-2 of this blog series.


Kommentare